
Mounting an RBackup VHD File with VirtualBox
Mounting an RBackup VHD File with VirtualBox
RBackup can create a full disk image of a hard drive. The “image” is a file that ends in “.VHD” and is stored in the Image Backup Location as defined in the Schedule screen on the RBackup Endpoint software when the “Full Image Backup” backup set is selected from the pull-down menu.
This is a standard Microsoft .VHD file, unencrypted and uncompressed. It can be mounted with any software that can mount a VHD file. In some operating systems you can simply use Windows Explorer to browse over to the file, right click it and select Mount.
Once mounted, the VHD file will run like it ran on the original computer or server. You can use it as-is in this virtualized environment. You can browse for files, run most programs, and access the Internet.
If you’re using a version of Windows that doesn’t have this capability, you can mount the file with any hypervisor. We’ll use a free product from Oracle – VirtualBox.
You can download VirtualBox for free here: https://www.virtualbox.org/wiki/Downloads
After VirtualBox is installed, it looks like this:
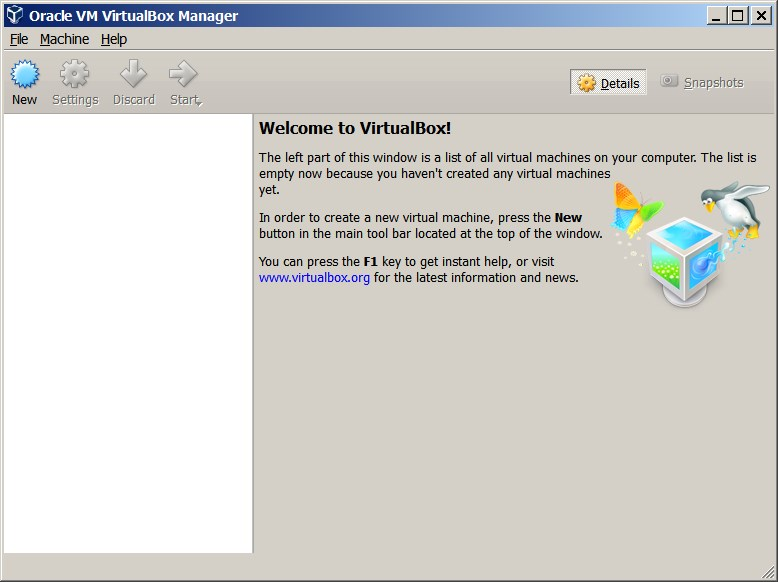
Click “New”
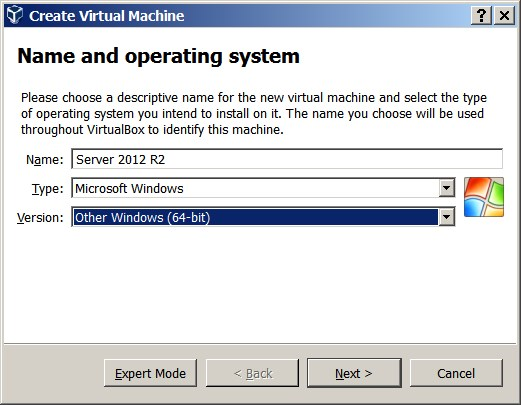
Enter a name for the instance. We suggest you name it the operating system name plus the server name. Select a Type and a Version.
Click “Next”
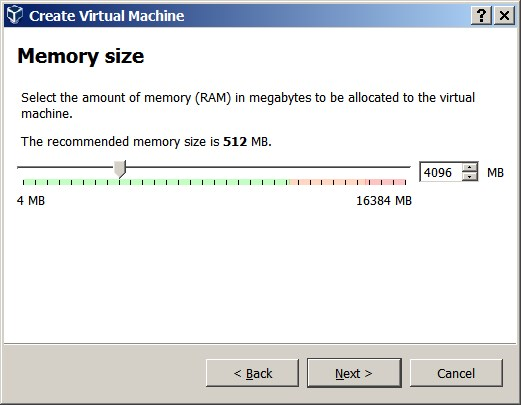
Set the amount of RAM to use and click “Next”
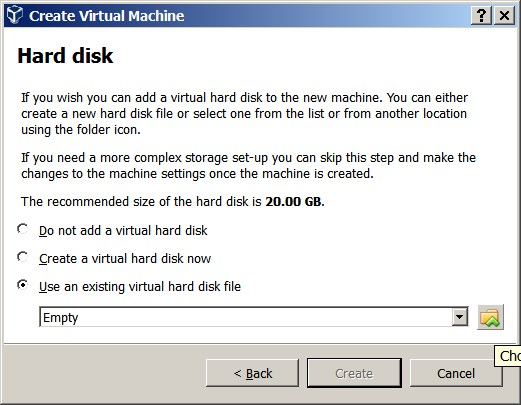
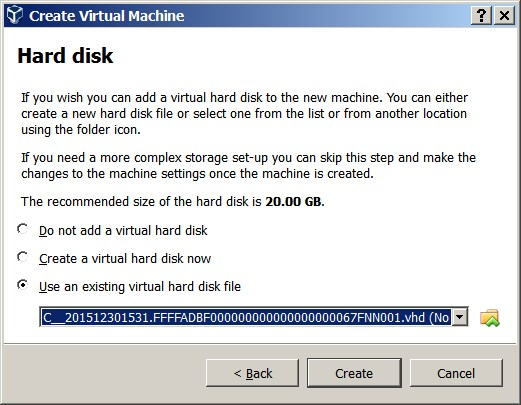
Select “Use an existing virtual hard disk file” and select the folder icon to browse for your .VHD file. It is in the standard folder structure for the RBS Server’s Data Store, in the LOCAL Image Backup Location as defined in the Schedule screen on the RBackup Endpoint software when the “Full Image Backup” backup set is selected from the pull-down menu.
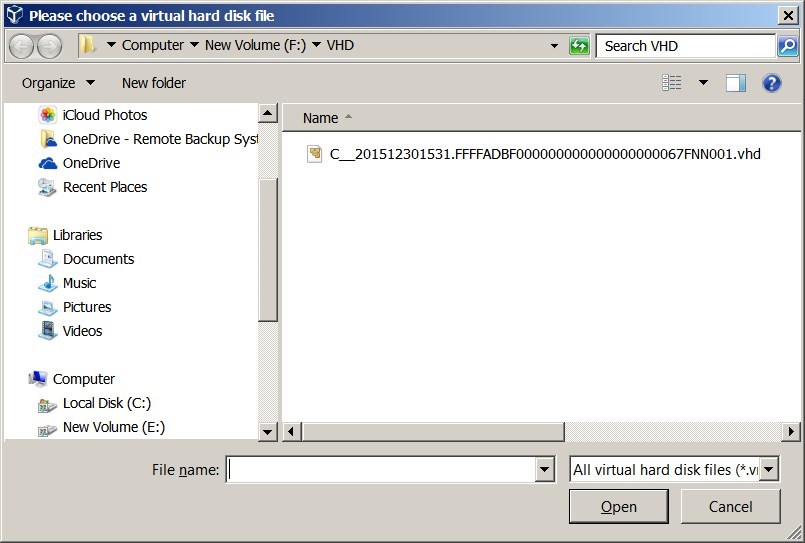
Click the file you want to mount and then click “Open”
Then click “Create”
VirtualBox then loads the VHD file into its directory and displays some information about it. To start your instance highlight it and click the “Start” button.
VirtualBox will attempt to start Windows in a window. It may display some messages at the top of the screen indicating status. You can click the “X” to retire the messages.
If all went well you should now be able to log in using the same credentials assigned to the original computer or server. Depending on the hardware resources available to the host computer, the new Virtual Machine should operate exactly like the original machine.
You can run programs, copy files – do anything you could do with the original computer.
Please review the documentation for VirtualBox on Oracle’s website: https://www.virtualbox.org/wiki